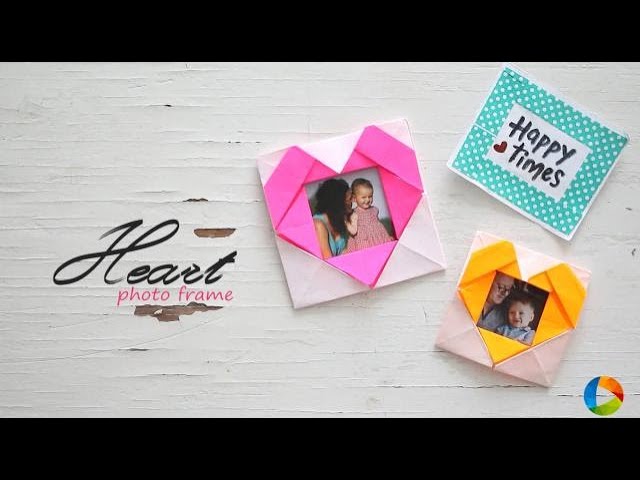
Learn how to make Heart Photo Frame.
Watch more: http://www.21frames.in/artalltheway
Follow us on Instagram: https://www.instagram.com/ventunoart
Subscribe Youtube: https://www.youtube.com/user/TheVentunoart
Materials:
Craft paper
Method:
1. Take a craft paper and cut it into a square of size 12 cm.
2. Fold the paper in half diagonally. Crease and unfold.
3. Repeat the same for the other diagonal.
4. Fold the paper in half horizontally. Crease and unfold.
5. Fold the paper in half vertically. Crease and unfold.
6. Fold the top and bottom towards the centre crease. Crease and unfold.
7. Repeat the same for both the left and right sides as well.
8. Now, fold the bottom and right side inwards together as shown, and fold and flatten the triangle formed in the corner as shown.
9. Repeat the same for all sides.
10. Fold the four corner squares in half.
11. Unfold and fold the bottom corners inwards as shown.
12. Fold the four diamonds in the middle in half as shown.
13. Unfold the upper diamond and fold it again inwards as shown.
14. Fold the top two corner triangles in half. Unfold and fold it again inwards.
15. Fold the top two middle triangles in half. Unfold and fold it inwards as shown.
16. Insert the photo in.
17. Voila! Your cute miniature heart photo frame is ready!
Tips:
It is better to used one side coloured paper, instead of both sides coloured. This makes sure that the heart shape is showed clearly.
Prefer drawing patterns yourself rather than using patterned paper. Or, make sure the patterned paper you choose does not clash with your picture.
You can use a thick chart paper or craft paper as well. The thicker the paper, the more durable the frame is.
Use a bone folder to crease precisely in case you use a really thick paper.